How to waste your money and sticker paper
Posted by brilokuloj on Feb 16, 2023
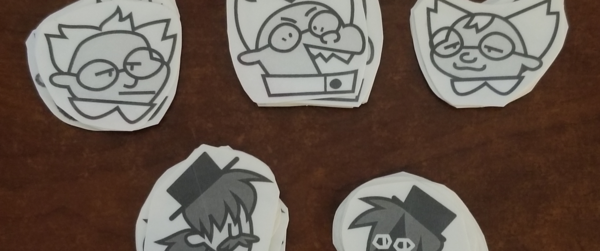
If you know me, it is not a secret that I absolutely love stickers, and labels and patches and all kinds of stick-on things. It was one of the first hobbies I got into as an independent adult and it has kept me sane in times of extreme duress, including and especially right now! So it only made sense to me that, as a sticker-lover and an artist who enjoys using printers, I would want to design my own.
Turns out it’s goddamn hard though. It takes a lot of time, and initial investment. I certainly am up to my shoulders in free time recently, but that is the same reason I don’t have money to spare.
So here’s my journey of trying to make my own stickers, all from the (relative) comfort of my own home. Did I succeed in my quest? No, I did not.
#1: Get your supplies together.
This article assumes you already have a printer that can print onto sticker paper, and a design you want to print. I had a hard enough time picking my own model of printer, and this is not a “how to design stickers” article.
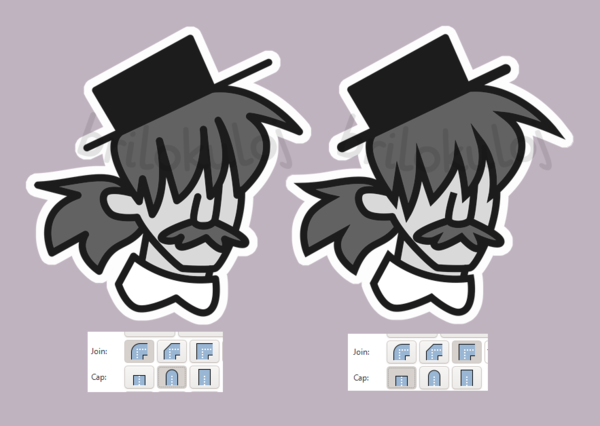
But I guess I’ll throw in this image from my design stage, when I remembered that Inkscape has more stroke settings:
I started with 15 sheets of sticker paper and 1 laminating sheet, so I really only had one chance to get this right. The stakes were high. I am, as of the time of writing this, locked in my apartment with no water during a snowstorm (this is also the reason I’m wasting my afternoon writing a blog post), so my money has to go towards food and shelter. But I figured if I could get it right on the first pass, I could sell these at a discount and put that towards actually buying quality supplies in bulk.
#2: Get the settings right.
So I was up against my first hurdle: I couldn’t find any info online about how to print onto sticker paper with my printer.
I know it’s considered uncouth to give out “trade secrets”, and I’m probably going to get some people rolling their eyes that I didn’t do it the right way (which they aren’t allowed to disclose), but frankly I do not give a shit. The amount of hushed secrecy over art and everyday home electronics is something I personally find repugnant.
So if you got here from Google, good lord, I hope this helps. My printer is an Epson EcoTank ET-2850. I printed on Astrodesigns Sticker Paper by Astrobrights. That was the cheapest option I could find from Target, since I recently got a Target credit card that I need to be actively using to boost my credit score… ahhh, adulthood.
My problem was, I have never printed on any paper other than standard printer paper before. My options were ‘standard paper’, ‘glossy paper’, and a lot of stuff I hadn’t heard of before, like ‘premium presentation paper’. What the hell is that? To make matters worse, my sticker paper didn’t seem to fit into any of these categories.
This stuff is heavy and matte, and I wanted it to look good. I selected an option called something like ‘premium matte’ and set it to high quality.
Well, I guess I was having a rough night last night, because I actually had a panic attack while it was printing and I had to calm myself down. For some reason I had become convinced that the printer had impossibly eaten the paper, not just jammed but was somehow curling in on itself, because it went in but it took a while for me to see it start coming out. I expected to walk up to the printer and see it drooling ink, and then to have to disassemble it and pull out a wad of wet paper.
That didn’t happen, but here’s what I got:
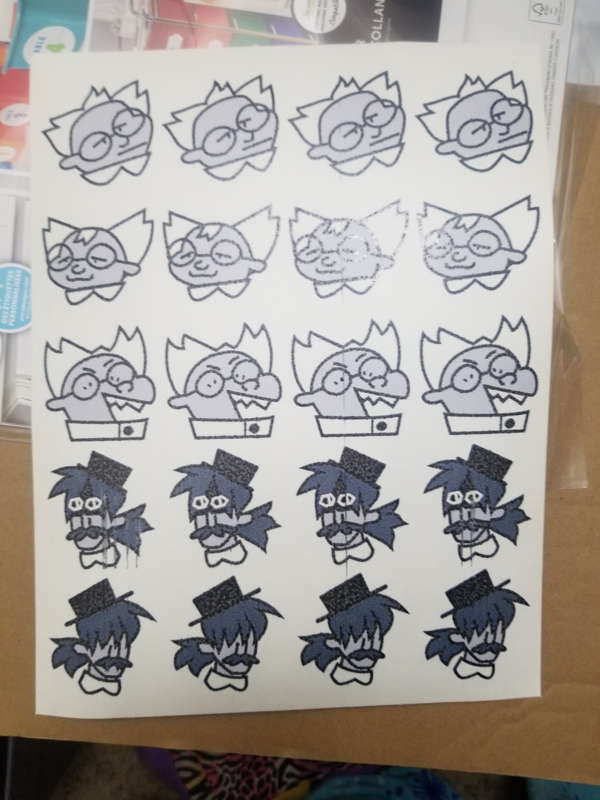
Fascinatingly fucked up, right? It was indeed sopping wet. And I was down to 14 sheets.
I went to bed.
In the morning I did some furious googling. The results from several Q&A boards were the same: Use the regular paper setting on standard quality. I don’t know if it was the paper setting or the quality setting that screwed up my print, or if it was both, and I wasn’t going to waste 3 more sheets on science, so I just did what the internet told me to do.
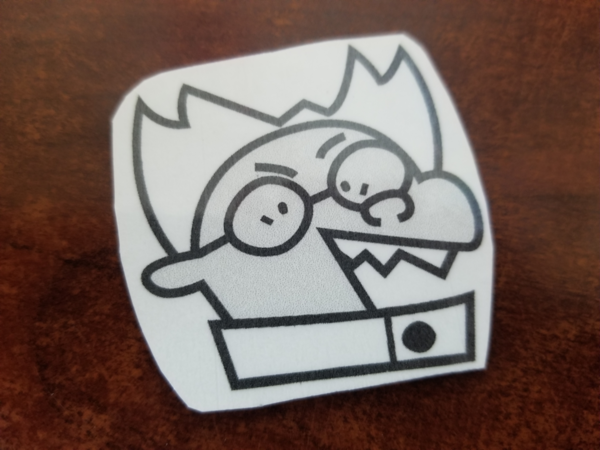
This print came out great!
I actually felt great about this one. It was really cool to see my art as a physical object you could buy, maybe not from a fancy Etsy store, but probably in a Dollar Tree or something. There’s some paint skipping (white lines, I dunno the technical term for this stuff) but I don’t really care, dude, this is all happening in my apartment, and I feel like some sort of paper wizard.
#3: They’re dead. Wrap ‘em in plastic.
I wanted these to be relatively sturdy, so the next step was to run it through my laminator (Scotch Thermal Laminator from Walmart), with my one (1) laminating pouch I had left. The laminator came with only two freebie pouches, and I had already wasted one on printing and laminating the first photo I ever took of Dunkin. I’d have to make sure I got this right.
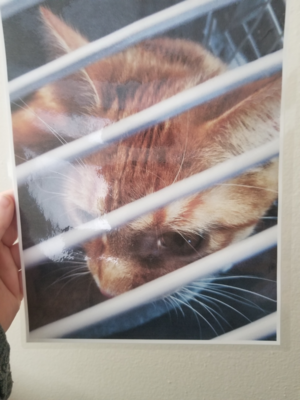
Totally worth it.
I actually remembered to let the laminator heat up this time, so this step was easy! The machine makes an awful smell, but I like watching it come out the other side.
The one problem here is if you have trouble visualizing what on Earth you’re doing with this step, which I really struggle with, for some reason. Let me try to break it down: you’re laminating the front side (the printed side), which is the face, and the peel-back side (unprinted) is the butt, which doesn’t need protecting (because it’s unprinted). So you’re gonna stuff two pieces of paper into the pouch, butt-to-butt, with the printed parts facing outwards, and the blank peel-back side inside. So once it’s all put into the pouch, you can look at both sides of the pouch, and they will both show the printed part, got it? Make sure you can only see the faces and not the butts. Hide the butts away.
I rehearsed this in my head the entire time the laminator was heating up and when I put the pouch into the machine I still thought “oh God did I put it in wrong?”
I recently made a dear friend a quilted gift and had to unpick the stitches half a dozen times because I kept sewing things the wrong way around. In fact I left a single wrong-sided square on the finished product because I just could not be fucked to fix it. I hate this shit.
#4: Give yourself a hand cramp.
So I had now printed 4 sets of 5 characters, across 2 pieces of paper. I decided I’d keep the fucked-up looking ones and maybe give them out as freebies or a discounted add-on or something, since my friends actually thought the runny look was pretty neat.
That meant I had 40 stickers. I cut out 40 stickers, manually, by hand, which was how I spent my entire morning.
If you’re seriously committed to stickers, you’re gonna get a Cricut to score the paper, or I guess Cricut sucks now so maybe a Brother Scan & Cut or something? One of those fancy cutting machines. I might get one myself one day if I get really serious about this, but hand cutting works just fine at the scale I’m working at.
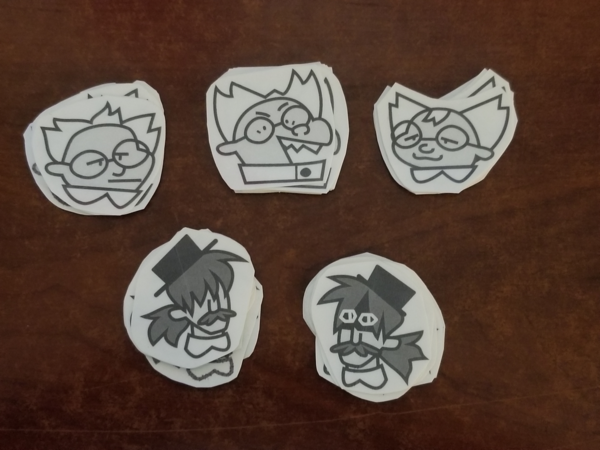
Once they were all cut up, I decided I’d try one myself juuust in case before committing to sending these out in exchange for people’s real hard-earned money. So I peeled the backing off of one, shoved it onto my water bottle, and watched as it unceremoniously fell off of the bottle onto my desk.
“What the hell?” I thought. Then I realized the blank backing I was holding was sticky.
#5: Don’t fuck it up.
Yeah… I printed onto the peel-back side.
HOW DO YOU EVEN DO THAT?! How did I fuck that up that badly? Oh my God, my right-side insanity strikes again! I can’t keep my faces from my butts! I was focusing so hard on the laminating step when it was doomed from the start.
Apparently a lot of sticker paper normally labels the back side. But this one was nearly identical. I chose to print on the side that was facing the top of the packaging, which made sense to me, but I guess they were put into the package upside-down, or… something? I don’t know. I’m stumped.
So now I’m down to 13 sheets… and 0 laminating pouches.
Now I have 38 (I had peeled another in incredulity) completely non-sticky stickers, half of which are fucked up. What the hell do I even do with these?
All in all, an exhausting ordeal. And I had to write a whole article about it.
Categories: ways
Tagged: crafting crafts dunkin donuts pumpkin spice signature latte for a limited time only laminating printing stickers tutorials