How to use vertex colors in Blender 2.8
Posted on Mar 16, 2020


It would be a shorter list to say the things that Blender 2.8 didn’t change. All of these changes have been great for professional users, but they’ve certainly alienated Blender’s long-term hobbyist userbase. As an amateur professional, I’m hoping to help bridge that gap.
So I talked about how to make a shadeless material. But how do you apply vertex colors to that material?
Vertex colors, as the name implies, are RGB data that is stored in individual vertices. These days, vertex colors are treated as irrelevant, but they have a ton of uses if you’re willing to play with it. You can use them to make completely textureless models with basic flat colors, which is great if you don’t care much for mucking with UVs. Another thing you can do is use them for shading your textured model, which is a great way to keep the file size down on low-resolution textures.
Vertex colors are great for all kinds of retro and minimalist styles, and the data in them can easily be ported to game engines like Godot. Also, it’s just plain fun to mess with and will teach you more about the Shader Editor. So let’s go!

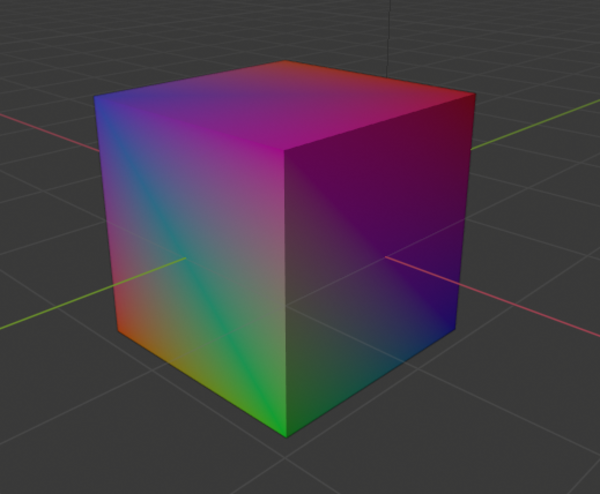
I’m starting with the cube from our last tutorial. I went into Vertex Paint [CTRL+TAB, then 8] and painted some random colors onto my cube. I actually wasn’t sure what workspace tab to do it from, but UV Editing works just fine. In order to see vertex colors, you’ll want to be in Solid view [Z, then 6]. Up in the top-right of the 3D view, there’s a Viewport Shading dropdown where you can change Lighting to Flat, which will help you visualize the raw color data without Blender’s default lighting.
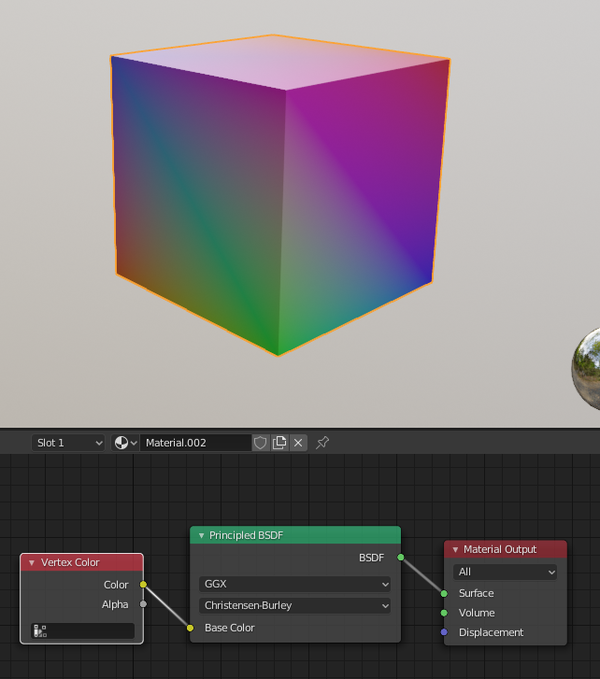
If you just want to apply vertex colors to the default shader, all you have to do is add a Vertex Color node, then connect that to your shader’s color input. Yay!

So how’s about using the vertex color data for lighting? A lot of early 3D games were distinctive-looking for using vertex colors as ‘hard-baked’ shading, rather than the real-time dynamic lighting that would later become the norm. Spyro the Dragon in particular used this technique to its full extent: dark corridors, light pathways, and even to turn underwater areas blue!

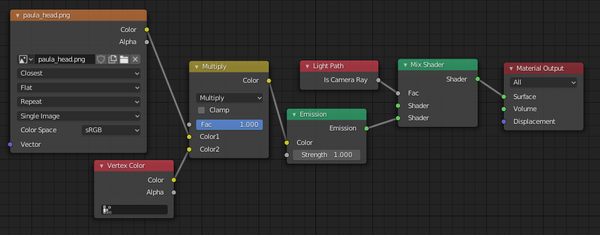
Here’s the breakdown on applying vertex colors to a shadeless textured object. You’ll want to add a MixRGB node (it’s the one labeled as Multiply in the image). Connect your Texture to the first yellow input of MixRGB, your Vertex Color to the second input (the order does make a difference, but you’re free to play with it), then select your blending mode through the dropdown. Connect the yellow output of MixRGB to your shader’s Color input.
Speaking of MixRGB’s dropdown selection, you actually have a few options to choose from, depending on what you want your final product to look like. You’re free to fiddle with all of them, but you probably want ‘Multiply’.


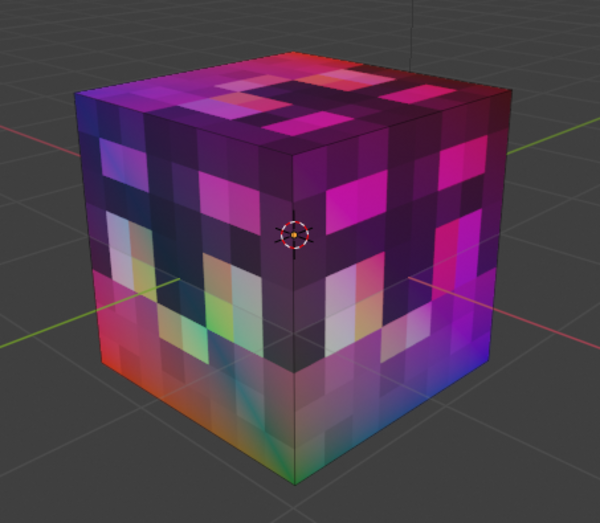
But … this does require its own workflow. As you can see in the Spyro example, you’ll want your textures to be very bright in the first place, because Multiply can only darken - which is why our Paula cube looks so blue. If color mixing and blending modes aren’t your strong suit, be prepared for some trial-and-error.
You’re also a bit boned if you want to automate shading a very large object. Blender 2.79 had a feature that actually let you automatically bake your lighting setup into Vertex Color data, and Blender 2.8 has just wholly removed this. Why oh why? Sure, it’s primitive technology that only game devs are really using – but we need it, dangit! I haven’t found a plugin yet, but if I do, I’ll be thrilled. In the meantime… well, I keep both versions on my computer for a reason.
One final note: If you’re porting your hard work to Godot Engine, I should mention that exporting as .obj does not retain vertex color data. In my experience I think .glTF has worked the best for me, but .dae works too. Feel free to leave a comment if you’d like me to revisit that process for an article.
Categories: ways